|
Hong Kong
Offline
|
| |
|
2015-12-16
|
|
Flight distance : 18484 ft
United States
Offline
|
|
|
2015-12-16
|
|
Flight distance : 1598878 ft
Ukraine
Offline
|
|
|
2015-12-16
|
|
Flight distance : 13058 ft
United Kingdom
Offline
|
|
|
2015-12-16
|
|
Hong Kong
Offline
|
| |
|
2015-12-16
|
|
Hong Kong
Offline
|
| |
|
2015-12-16
|
|
Hong Kong
Offline
|
| |
|
2015-12-16
|
|
Flight distance : 275105 ft
United States
Offline
|
|
|
2015-12-16
|
|
Flight distance : 34753871 ft
Italy
Offline
|
|
|
2015-12-17
|
|
Flight distance : 227454 ft
United States
Offline
|
| |
|
2015-12-18
|
|
United States
Offline
|
| |
|
2015-12-20
|
|
Flight distance : 83612 ft
United States
Offline
|
| |
|
2015-12-20
|
|
Hong Kong
Offline
|
|
|
2015-12-20
|
|
Hong Kong
Offline
|
|
|
2015-12-21
|
|
Flight distance : 20145135 ft
United States
Offline
|
|
|
2015-12-24
|
|
Flight distance : 20145135 ft
United States
Offline
|
| |
|
2015-12-24
|
|
Flight distance : 1528688 ft
United States
Offline
|
|
|
2015-12-25
|
|
France
Offline
|
| |
|
2015-12-26
|
|
Hong Kong
Offline
|
| |
|
2015-12-26
|
|
United States
Offline
|
|
|
2015-12-28
|
|
Hong Kong
Offline
|
| |
|
2015-12-28
|
|
Macao
Offline
|
| |
|
2015-12-28
|
|
Hong Kong
Offline
|
| |
|
2016-1-27
|


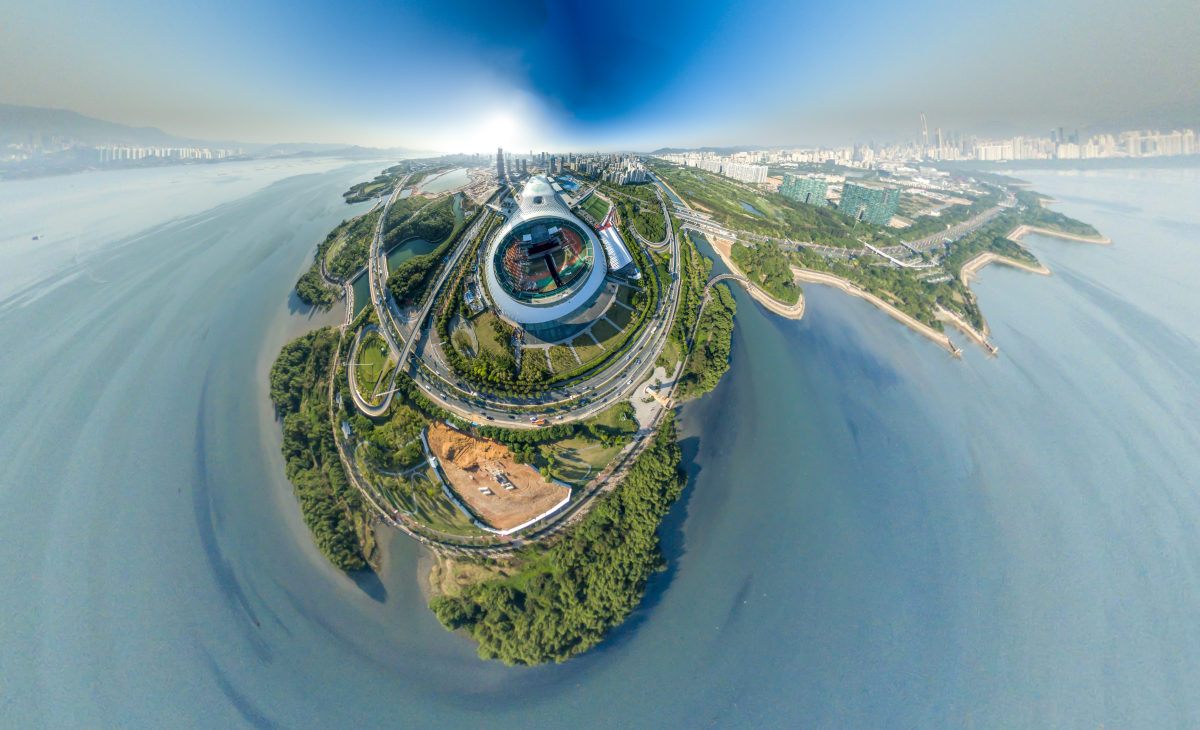
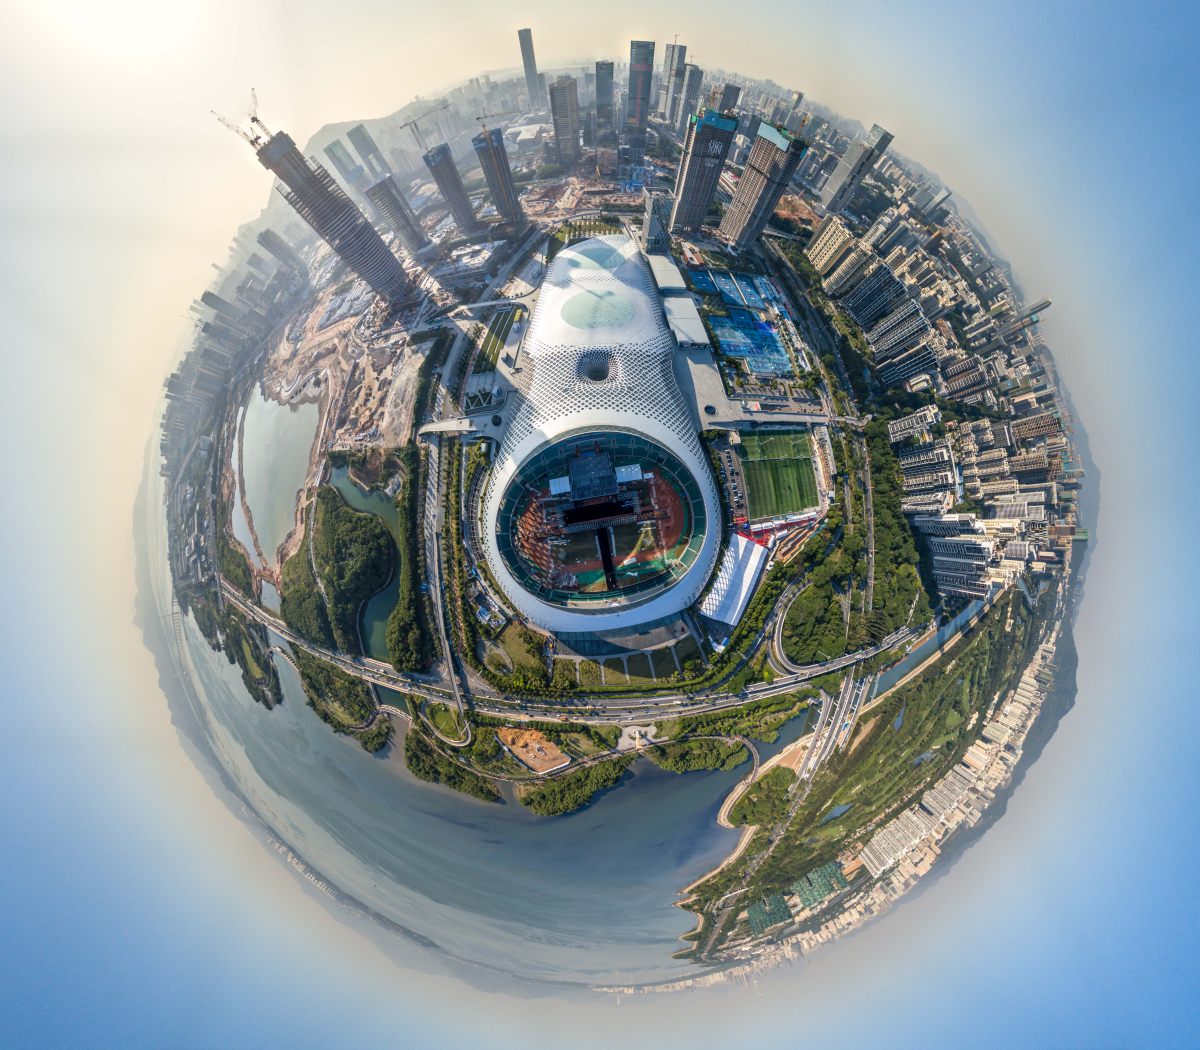
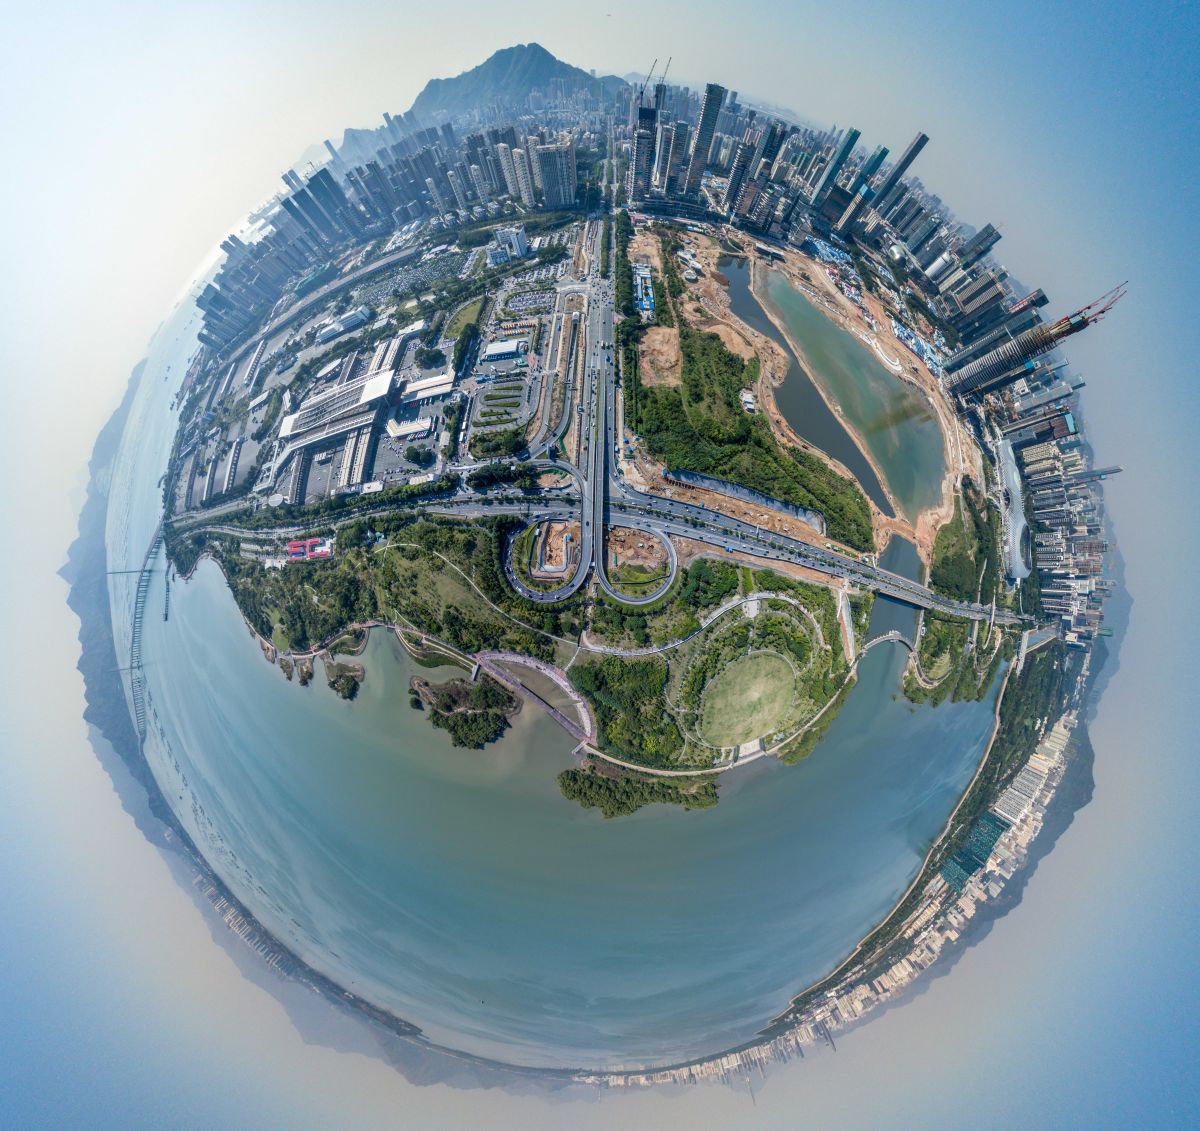
 . Instead, you can make a photo of your own planet using your Phantom, Inspire or OSMO. In this tutorial I used a panoramic images shot with OSMO.

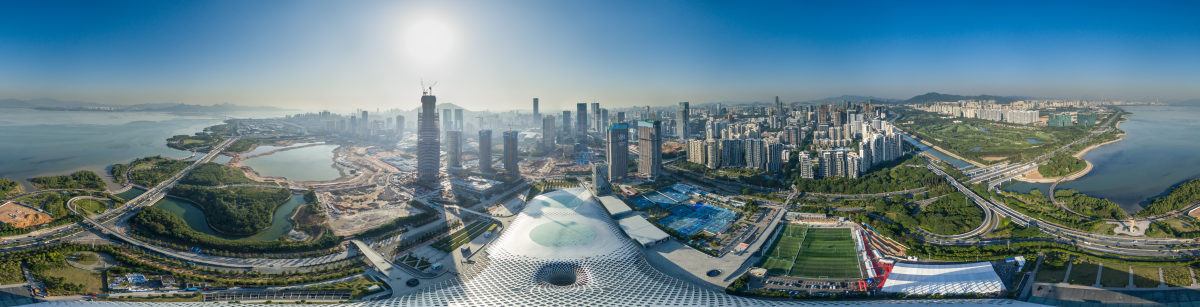
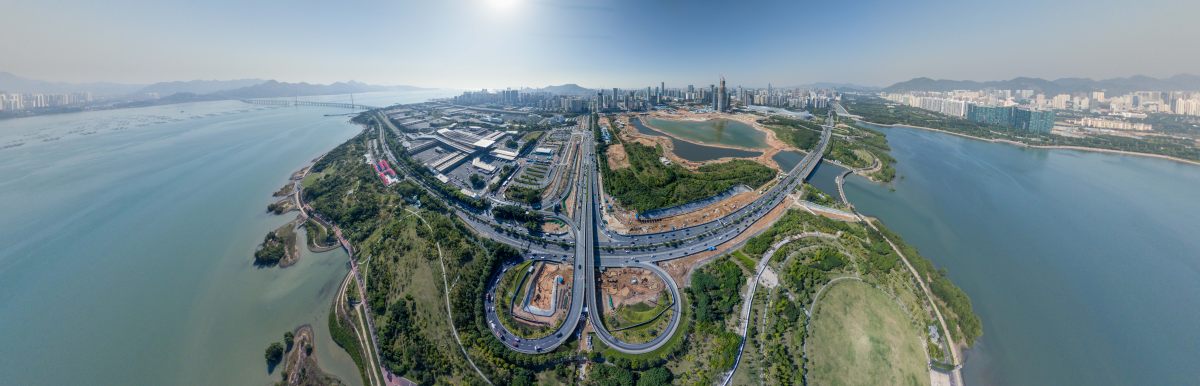
 Photomerge